Putting yourself out there can be really difficult, especially for those of us who are a bit more reserved and have quieter personalities. Pushing through the wall of self-doubt can be tricky. But you’re not alone. As a designer at an advertising agency, I go through the process of being vulnerable and putting my work up for approval and criticism regularly.
To help overcome mental and confidence issues, it’s nice to rely on a steadfast process to help me through. I’ve outlined the steps that I use to work through a project from start to finish. These help me take the idea that’s bouncing around my head and bring it to life. I’ve learned that the smaller I break down the steps in the process, the easier it is to keep moving and to avoid procrastinating. The more I repeat the steps, the more familiar and comfortable I am with starting a new project.
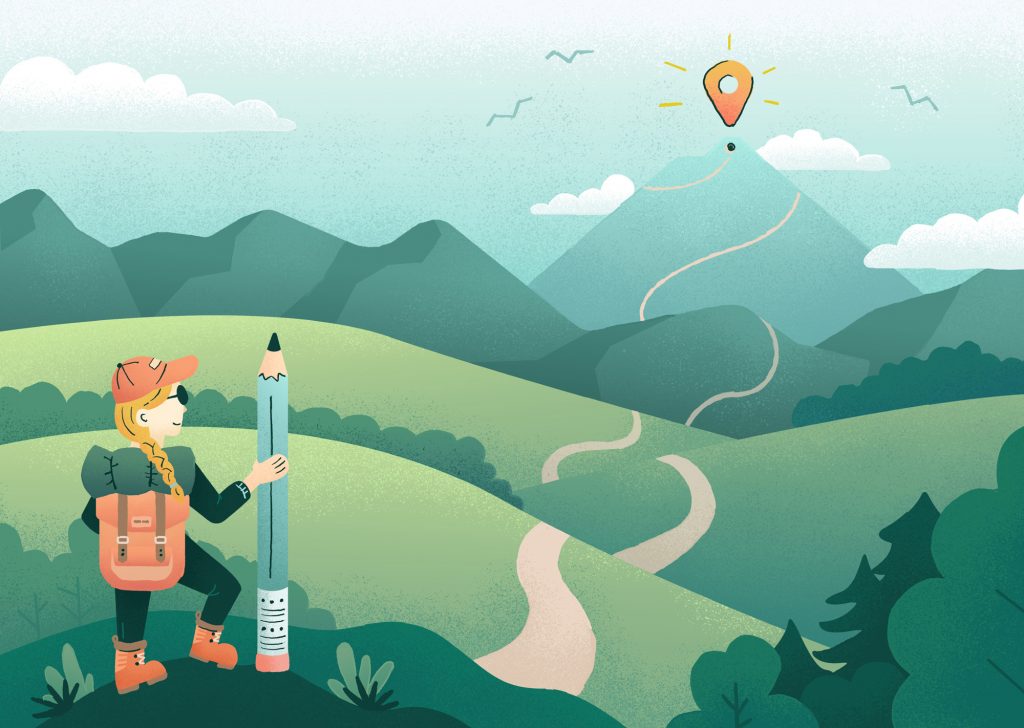
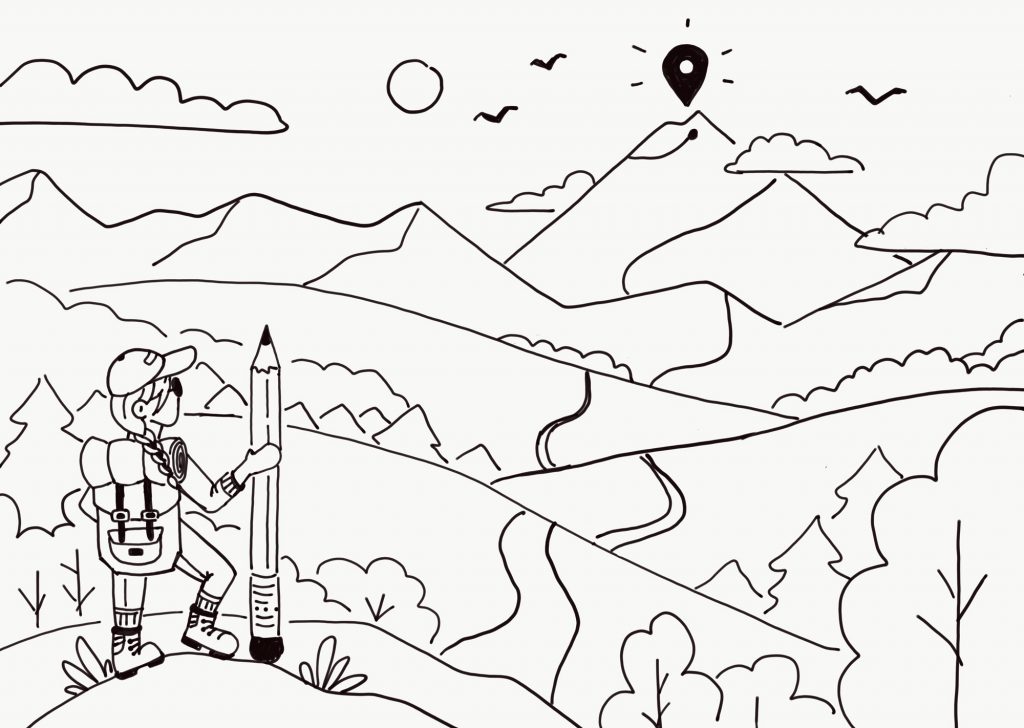
This is an example specifically for a blog illustration. This blog illustration to be exact. I know, so meta, right? Now let’s dig in.
1. Write. It. Down.
The most difficult step for me, by far, is to just begin. It can be overwhelming to have all of these ideas floating around your head. You can feel their potential. For me, that feeling of potential can also be scary. It can be scary thinking that you won’t be able to live up to your own expectations – let alone your peers, co-workers and, of course, the client. This is when negative thoughts can start to creep in. “How will I ever make this happen?” “Is this too grand for me to pull off?” “Am I even good enough?” This can be hard to push through. But go ahead and begin with just a simple step.
Write it down.
Documenting it makes the idea somewhat official. I do this by simply writing it down in my sketchbook. This doesn’t have to be anything overly detailed or fleshed out. Just write enough info that you can come back and reference it later. I can’t tell you the number of potential projects that I was so psyched about and that were then lost forever because I forgot to write it down.
The process of transferring your thoughts to paper can relieve some burden from your brain. I find it helpful to create a to-do list when stressed out, as well. Just the action alone of writing it reduces some anxiety. There’s something about seeing your thoughts written out that just lifts a bit of weight off of your shoulders.
2. Create a mood board.
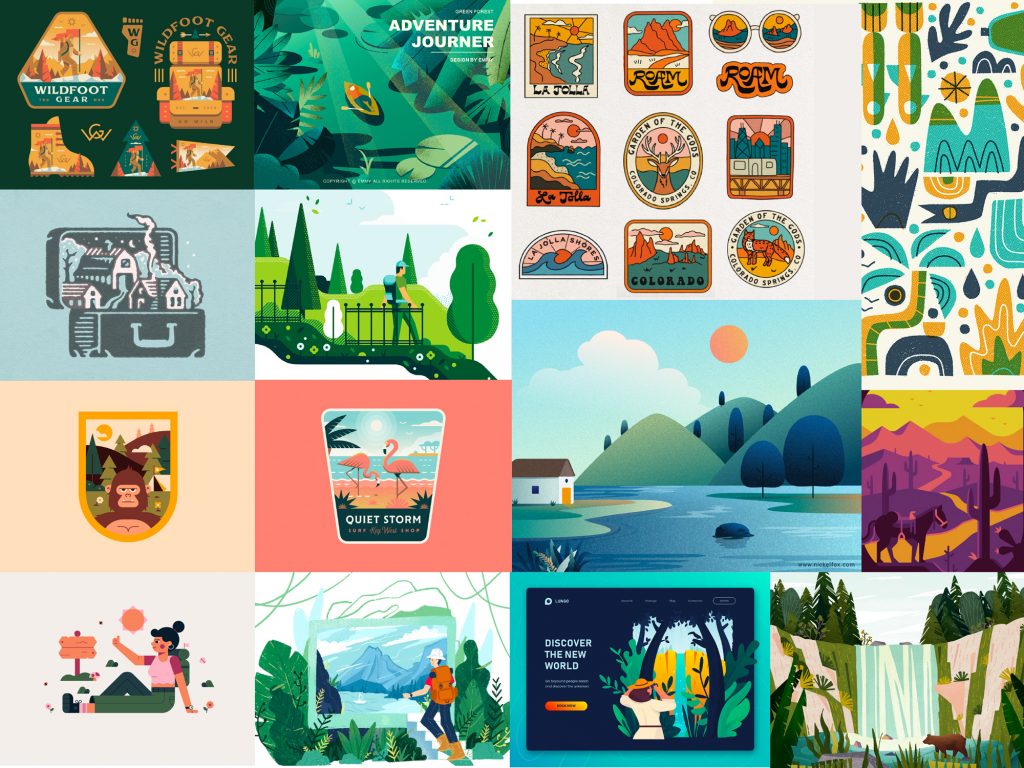
This is one of my favorite steps. I love to spend a good chunk of time browsing through other artists’ work for some delicious inspiration.
Starting an original piece of art can be quite daunting in the beginning. It took a while for me to refine my process and start utilizing the mighty mood board. I used to feel pressure to simply start from scratch. I would just look at a blank paper and feel horrible and guilty if I wasn’t able to immediately start creating. Free yourself from that burden. Creativity is meant to be shared and to inspire others.
I tend to pull references from example art for a few different purposes. Those purposes may change based on the project and what I am trying to accomplish. For this blog post piece, I chose examples based on the use of color, illustration style and texture.
3. Establish thumbnail sketches.
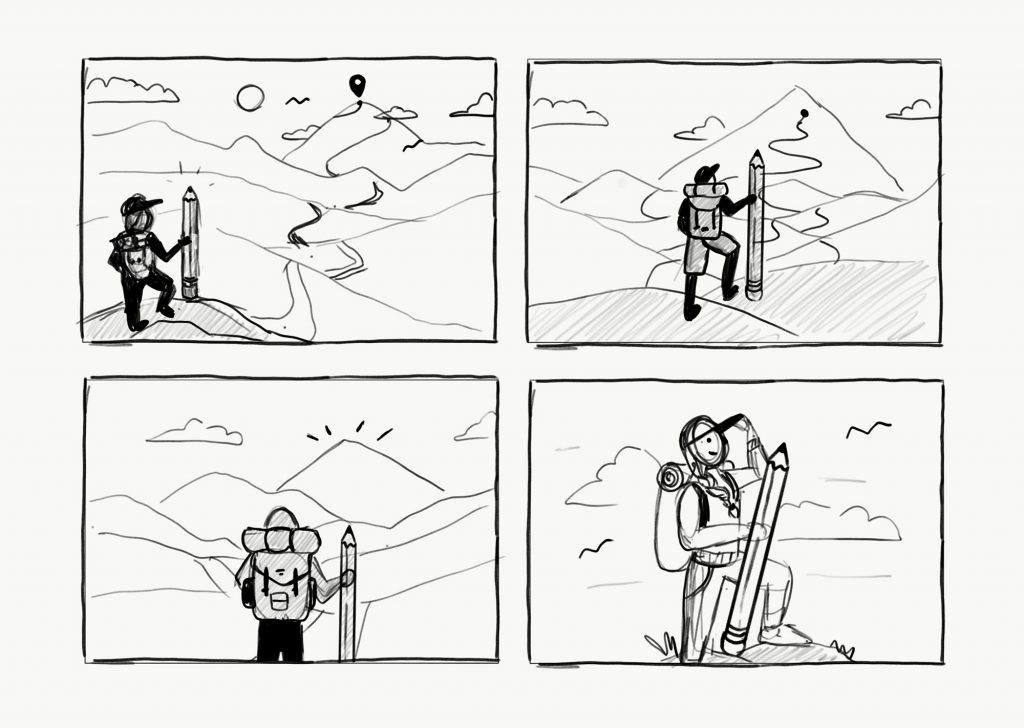
Quickly jot down a few sketches of different layouts. Then eventually narrow it down to one. Don’t feel the need to rush this. Sit with your different sketches for a while. What makes you gravitate to a certain option? Is there a subtle element you like from one thumbnail that you can transfer to another?
Can’t decide? You can always phone a friend. It’s nice to grab someone’s opinion who isn’t so close to the project. Value your peers’ opinions. This can offer some peace of mind that (hopefully) confirms you’re going in the right direction. It all just helps remind you that you’re not working in a silo.
4. Generate a rough sketch.
At this stage, I transition from using my sketchbook to picking up the iPad.
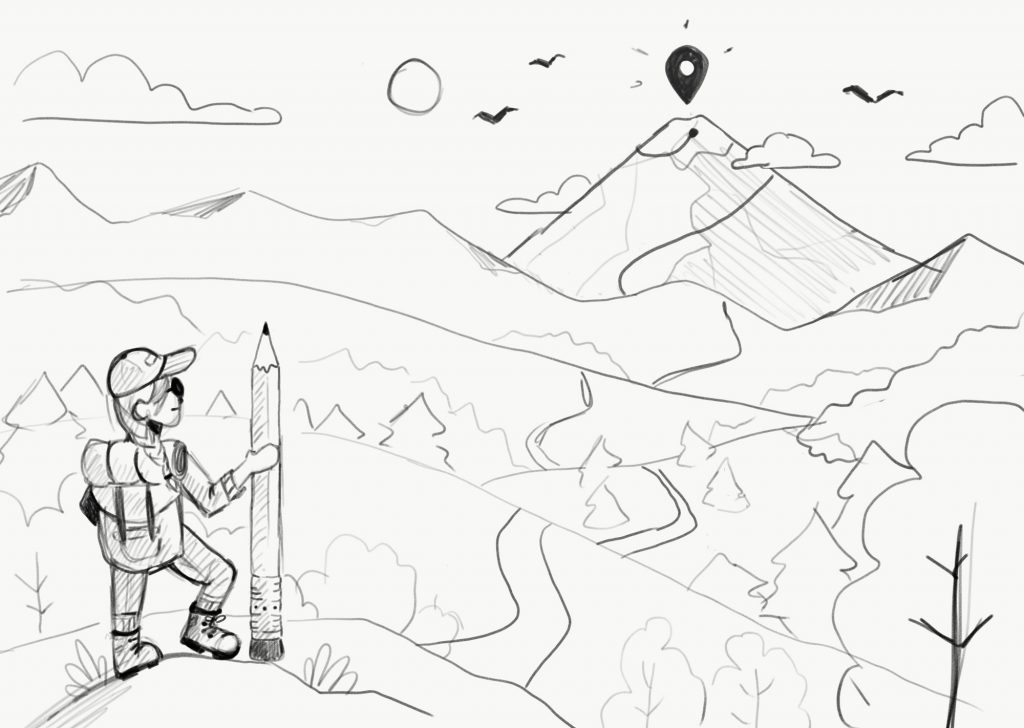
Using my chosen thumbnail for reference (sometimes, I even take a picture of the thumbnail sketch and use this to start tracing), I begin by sketching the graphic with the pencil tool. I take this time to explore the placement of different elements. This is just a rough start, so try to have fun with it. The more fun you’re having, the more open you are to new ideas. And the more ideas you have, the easier it will be to spot the great ones. So don’t feel locked down to any one pencil stroke or shape. Use this part of the process to explore a minor few variations of your design. (i.e. Do I add a river into the landscape? How about some more trees?)
I also use this time to pull reference images for the different subject matter in the graphic. For instance, I looked up a couple of different backpack styles for inspiration for this graphic. (Remember, inspiration is meant to be shared.)
5. Refine the sketch.
Once I’m happy with the specific placement of the elements in my design and the details are nailed down, I begin to finalize the drawing. I clean up any unwanted pencil lines. Then, I trace over the previous pencil drawing with a more defined marker tool. This helps the sketch look more polished and purposeful.
At this stage of the process, you can finally start to see things coming together. At the start, your vision that was just a series of floating ideas is now beginning to form into a solid piece of work!
6. Vectorize the artwork.
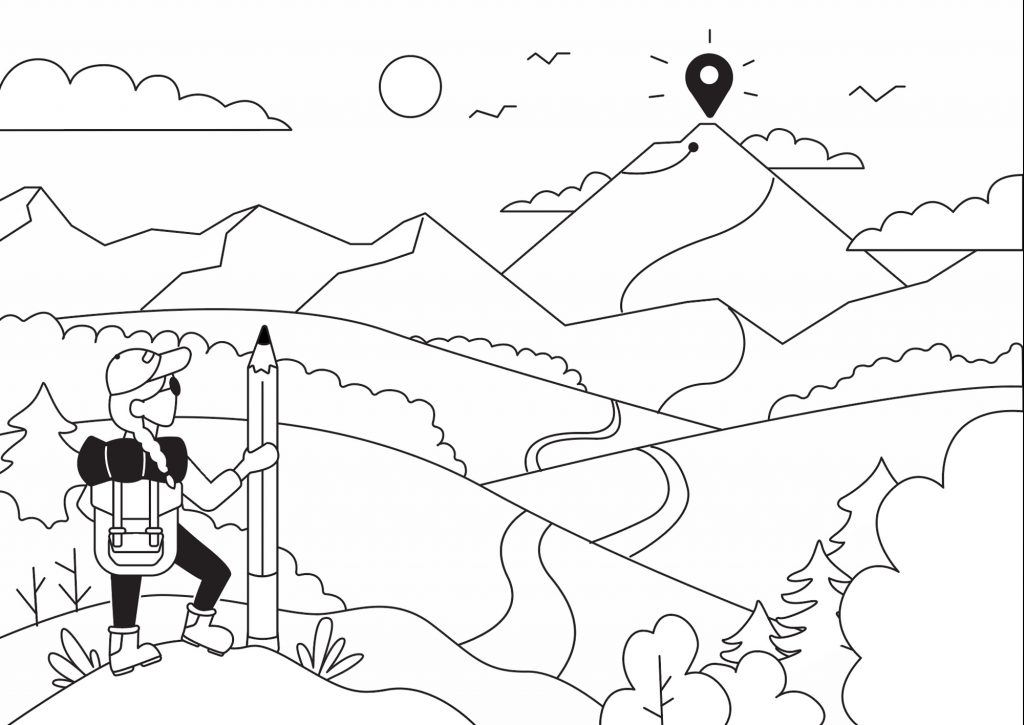
At this point, I finally get to take the design to the computer.
I begin by setting up a new file in Adobe Illustrator and importing my refined sketch into its own layer. After that’s all set up, I take the pen tool and trace the pencil lines and shapes with a stroke. (It’s tempting to start experimenting with color right away, but it’s important to focus on getting the shapes and forms set at this stage.)
I’m always amazed how quickly this stage can go when you have a nice, solid sketch to work from.
7. Block in the color.

Now that I have my basic outline of the illustration finished, I then move onto choosing the colors.
This seems like a fairly simple step, but it’s not. For me, at least, the process of choosing what colors go where can take hours. I tend to spend a good amount of time experimenting with different color options. Color brings life to a visual, but the wrong color choice can make your entire illustration feel off. Not only do you want to emote the proper tone, but you also want to make sure your color has enough contrast to stand out.
At this stage, I sometimes get in my head, and I feel like my work isn’t meeting my expectations. So my next step is usually to …
8. Take a step back.
It’s not unusual for you to fall out of love with your work for a bit at some point. It’s easy to compare your design to all the stellar designers you follow on Instagram or Dribble. It isn’t fair to do this before you’ve given yourself the chance to even complete the project
When this happens, I take a little time to step away from the process. I go for a walk or work on a different project. You need to allow yourself some space to come back to your work. Nine times out of 10, once I spend a little time away from my design, I come back with fresh eyes and I realize what I’ve been creating is actually pretty dang good. Absence makes the heart grow fonder, right?
9. Add textures.
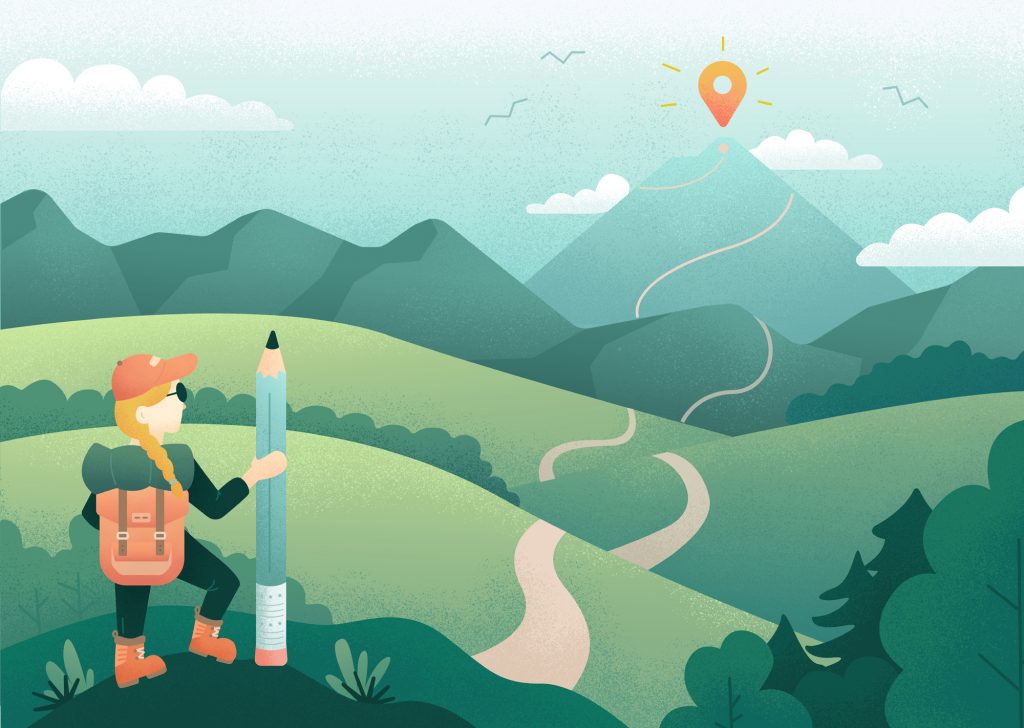
Now for the fun part – adding in the final details such as texture and shading. Not all illustrations call for this step, but I LOVE to add in some nice, gritty texture.
To do this, I take the vectorized graphic and bring it into Adobe Photoshop. I select each section and brush in different textures on the layers (I use a lot of brush packs from True Grit Texture Supply). I typically begin with building up some highlights and then shadows.
I really enjoy this part of the design development because I feel like the added detail of the texture really adds dimension and character to the design.
Once I spend some time tweaking the opacity levels of various texture layers and am happy with it, I can finally zoom out and call the illustration complete!
10. Finalize the details.
For this step, I take my exported image from Photoshop and bring it back onto the iPad. I usually end with the previous step but, this time around, I was inspired by a specific piece from my mood board to add in another layer of pencil strokes over the top.
So, there you have it – an illustrated graphic from start to finish. Now, I’m not going to lie, many times my process is messier than this. Deadlines creep up, designer’s-block takes hold or self-doubt sets in, but I’ve found the best way to cope really is to just keep going – no matter how small the step. And I hope that going through my process helps you find your process. It may feel like hell at times, but it is definitely worth it in the end.